Canon Error Code P10: Urgent Troubleshooting and Fix Guide
Urgent guide to understanding and fixing Canon error code P10. Learn quick fixes, a diagnostic flow, and preventive steps to restore printing quickly and safely.

Canon error code p10 signals a problem in the printer's paper path or sensor logic. In most cases, the quickest path to resolution is to power cycle, clear any paper jams, reseat media and cartridges, and verify paper tray alignment. If the code persists, perform a deeper inspection of the paper feed area and consult Canon support for model-specific guidance.
What Canon Error Code P10 Means
On many Canon printers, P10 appears as an alert when the device detects a disruption in the paper feed or a related sensor input. Because Canon models vary, the exact cause can differ by device and firmware version. In practice, this code is most often triggered by a misfed sheet, a partially jammed feed path, or a sensor that momentarily misreads the paper presence. The urgency comes from the fact that ignoring the jam or misfeed can lead to further errors or damaged sheets. According to Why Error Code, you should treat P10 as a symptom rather than a single fixed fault and begin a methodical check of the entire paper path, tray alignment, and sensor area. This means starting with the easiest, least invasive checks and escalating only if the code persists.
Quick Fixes You Can Try Right Away
If P10 lights up, perform these quick checks before taking the printer apart:
- Power cycle the device: turn it off, unplug the power cord, wait 15–20 seconds, plug back in, and power on. This resets sensors and logic without open access panels.
- Inspect the paper path for jams or tucked sheets. Remove jammed paper gently from the rollers using both hands, following the path arrows on the printer. Avoid tearing the paper, which can leave fragments that trigger the sensor again.
- Reseat the media and cartridges (if applicable). Take out the paper tray, straighten the stack, and reinsert it with guides snug against the paper; reseat ink/toner cartridges if your model uses them.
- Ensure the tray is properly aligned and loaded with the correct size and type of paper. Mis-sized sheets or thick media can trigger misfeeds and P10-like codes.
- Perform a basic test print or alignment page to confirm whether the feed path is clear. If you still see P10, proceed to a deeper diagnostic.
Steps
Estimated time: 15-30 minutes
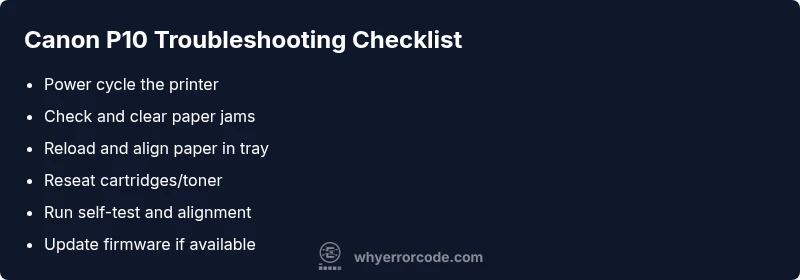
- 1
Power cycle the printer
Turn off the printer, unplug the power cord, wait 15–20 seconds, plug back in, and power on. This resets internal sensors and clears transient faults that may trigger P10.
Tip: A full power cycle resets the control board without risking hardware damage. - 2
Open access panels and inspect the paper path
Gently open all panels covering the paper path and visually inspect for obvious jams, torn sheets, or foreign objects. Use a flashlight if needed to reveal hidden scraps that could trigger the sensor.
Tip: Do not force paper or tools through the rollers; remove jams calmly and steadily. - 3
Clear jams and straighten the media
Carefully remove any jammed paper along the feed path, then reload a clean stack into the tray, ensuring it’s aligned with the guides and within the supported paper size range.
Tip: Fan the paper stack before loading to prevent double feeds. - 4
Check and reseat cartridges/toner
If your Canon model uses removable ink or toner cartridges, take them out and reinsert them. Make sure they click into place and are compatible with your model.
Tip: A loose cartridge can trigger sensor faults and false jams. - 5
Run a self-test or alignment
Use the printer’s control panel to run a self-test page or alignment process. This confirms the feed path is clear and sensors are calibrated.
Tip: If the self-test prints correctly, the issue may be intermittent or model-specific. - 6
Update firmware and perform calibration
Check Canon’s support site for your model’s latest firmware and install it. After updating, re-run a calibration/print test to ensure stability.
Tip: Firmware updates can address sensor logic and feed calibration conflicts.
Diagnosis: Canon error code P10 displayed, printer won’t print
Possible Causes
- highPaper jam or misfeed in the paper path
- mediumSensor misalignment or dirty pickup sensor
- lowOutdated firmware or calibration data
Fixes
- easyClear all paper jams and reload paper correctly
- easyPower cycle the printer and run a printer self-test
- mediumUpdate firmware and reset calibration
Frequently Asked Questions
What does Canon error code P10 mean?
P10 usually points to a paper feed or sensor-related issue. Start with a quick jam check, then follow the step-by-step guide to clear the path and test printing.
P10 usually means a paper feed or sensor issue—start by checking for jams and resetting the printer.
Can firmware updates fix P10?
Firmware updates can address sensor calibration and feed handling issues that might trigger P10. Check Canon’s support site for your model and install any available updates.
Sometimes a firmware update fixes P10 by recalibrating the sensors.
Is P10 a hardware issue I can fix myself?
Many P10 issues can be resolved with user-level steps like clearing jams, reseating media, and updating firmware. If the code reappears after these steps, seek Canon support or a technician.
You can often fix it yourself, but if it keeps coming back, contact support.
Should I replace parts or call a technician for P10?
If jam clearance and resets do not resolve P10, or you suspect a sensor/board fault, contact Canon support or a qualified technician. Do not attempt risky hardware repairs.
If it persists after basic steps, it’s best to contact support or a tech.
Will P10 affect print quality or only stop printing?
P10 primarily stops printing, but repeated jams or sensor faults can cause misfeeds that affect output until resolved.
It usually stops printing, but fix it now to prevent bad prints later.
Watch Video
Top Takeaways
- Identify P10 as a paper feed/sensor issue
- Clear jams and reseat media before testing
- Update firmware when suggested by the guide
- Call Canon support if the code persists