Bosch Range E118 Error Code: Immediate Troubleshooting and Fixes
Urgent guide to diagnosing and fixing Bosch range E118 error code. Learn common causes, quick fixes, step-by-step repairs, cost ranges, and when to call a professional.

Understanding E118: What Bosch Range Codes Really Mean
E118 is one of Bosch range fault codes that appears on the control panel when the appliance detects a fault during operation. Unlike generic errors, E118 is a signaling code that can have different meanings across model lines and firmware revisions. Because Bosch ranges vary by year and configuration, the exact cause listed in the user manual may differ. For this reason, approach E118 as a structured diagnostic prompt rather than a single fault to replace blindly. The Why Error Code team emphasizes checking the model-specific manual or the Bosch support portal for your exact kitchen appliance model to interpret E118 correctly. Start with safety, confirm the unit is powered down before touching any internal components, and then follow a methodical diagnostic flow.
Key takeaway: model-specific documentation is essential for interpreting E118 accurately, and a careful, safety-first approach protects you from harm while diagnosing.
Quick, Safe Fixes You Can Try Right Now
Before diving into parts, try these safe, non-destructive steps to see if the issue is a temporary fault or a simple reset problem:
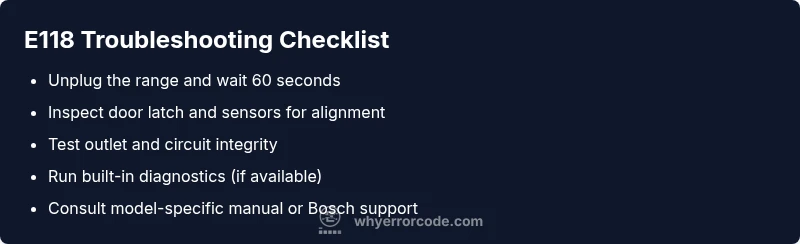
- Power cycle the range: unplug the unit from the wall outlet, wait 60 seconds, then plug it back in and power up. This can clear transient firmware glitches that trigger E118.
- Inspect obvious faults: check the door latch, sensor alignment, and display for obvious misalignment or obstruction. A misaligned door latch can trigger interlocks that produce fault codes.
- Check the outlet and circuit: ensure the range is getting stable power. If the circuit breaker tripped recently, reset it and test with a known-good device to confirm the supply. Avoid using extension cords for heavy appliances.
- Clear the error memory if supported: some models let you clear codes from the control panel or diagnostics menu. Note any recurring codes after this step.
- Safe re-test: run a short, simple bake or warm cycle to verify the display behavior. If E118 returns, move to the diagnostic steps.
If the fault persists, do not attempt dangerous repairs. For gas ranges, avoid bypassing safety interlocks. If you’re unsure, contact a professional.
Diagnostic Flow: Symptoms, Causes, and Fixes
When E118 appears, you’ll often notice one or more of the following symptoms: the appliance halts mid-cycle, an audible alert accompanies the code, or the display shows E118 without a clear next step. Based on model variations, the likely causes can include control board faults, door latch/sensor issues, or wiring harness problems. The quick fixes range from a safe power reset to reseating connectors.
- Symptoms to watch for: persistent E118 after resets, intermittent faults when opening/closing the door, or failure to start a cycle with the code display.
- Possible causes (ordered by likelihood):
- Control board fault or firmware glitch — high
- Door latch or sensor fault — medium
- Wiring harness or loose connections — low
- Representative fixes:
- Power-cycle the unit (easy)
- Inspect door latch and sensor connectors (easy)
- Check internal wiring and harness integrity; replace damaged cables (hard)
The diagnostic path is iterative: confirm power stability, verify physical interlocks, then test after each fix to gauge whether the fault persists.
Step-by-Step Fix: Most Common Cause (Power/Reset)
-
Power down and reset Unplug the range from the wall outlet. Wait at least 60 seconds to allow capacitors to discharge, then plug it back in and restore power. Observe the control panel closely for any change. If E118 reappears, proceed to the next steps. Tip: Always unplug before touching internal components.
-
Check door latch and sensors With the unit powered off, inspect the door latch and the sensor area for misalignment, damage, or debris. Re-seat any connectors firmly and ensure the door sits properly when closed. A loose latch can trigger fault interlocks that show E118. Tip: Do not force the latch; look for worn clips or bent hinges.
-
Verify power supply and circuit health Plug a different device into the same outlet or use a multimeter to verify 120V at the wall. If the outlet or circuit seems unstable, fix the outlet or call an electrician. A fluctuating supply can cause sporadic fault codes. Tip: Use a dedicated circuit if possible to reduce spurious faults.
-
Run built-in diagnostics (if available) Access the diagnostics menu from the control panel to view fault history and run a self-test. Document any repeating codes and times to inform service. Tip: Write down the model number, serial, and observed symptoms.
-
Factory reset (if model supports it) Follow the user manual to reset the appliance to factory defaults. This step may erase user settings, so perform a backup if possible. Tip: Only reset if recommended by the manual; otherwise proceed to service.
-
When in doubt, call a pro If E118 persists after these steps, the fault is more likely hardware-related. Schedule service with an authorized Bosch technician or a certified appliance repair professional. Provide model, serial, and a log of when the fault occurs. Tip: Request a written assessment and an estimate before any work.
Estimated total time: 45-60 minutes